About Cookies on this site

We use cookies to collect and analyse information on site performance and usage, to provide social media features and to enhance and customize content and advertisements.

Learn more

About Cookies on this site

Cookies used on the site are categorized and below you can read about each category and allow or deny some or all of them. When categories that have been previously allowed are disabled, all cookies assigned to that category will be removed from your browser. Additionally you can see a list of cookies assigned to each category and detailed information in the cookie declaration.

Learn more


Season 3 - Episode 2


Friends, you’re never too young to start taking care of your bike. Sure, it sounds way easier to sit around and eat candy while your mom or dad fixes it for you, but the thing is, sooner or later you’ll be riding with your friends with no parents to help you, and there’s nothing more annoying than a flat tire in the middle of your run. With our simple tips and a little bit of practice, you’ll learn how to keep your bike in shape and change a tire in no time, just like Lois.


Let’s start with a backpack check. There are a few things you should always carry with you :


A mini-pump : make sure it is mountain bike specific. There are high-pressure (HP) and high-volume (HV) pumps. You want to choose a HV one for your mountain bike.

One spare inner tube : check your spare tubes from time to time. If they’ve been sitting in your backpack for too long, they could have dried or been damaged. Also, don’t forget to throw away or repair the pinched tube as soon as you get home. You don’t want to bring a defective tube on your next ride!

Tire levers : they usually come as a pair. Some people are able to change a tire without using them, but it requires more strength, especially if the tire is new and stiff. Our tip: keep your energy for the ride, and use those levers.


Now, here’s how to fix a flat tire :


Step one : take your wheel off. The front wheel is easy to remove, especially if you have a quick release. But punctures are far more likely to happen on the rear. To remove your back wheel, shift into the highest gear (the smallest cog on your cassette and the largest front chainring if you have a front derailleur). Doing this will make it much easier to take your wheel out and put it back on later. Once the wheel is off, open the valve and deflate the tire completely.

Step two : free your tire from the rim by pressing the edges towards the center of the rim. This will give you some space to insert the tire levers.

Step three : place the tire levers between the tire and the rim. As the name suggests, you want to lever one side of the tire over the rim, so that you can pull out the tube. Always start on the section opposite to the valve, in order to avoid damaging it. Once the tube is out, check if any sharp objects are still inside the tire.

Step four : grab the new tube and fill it with some air (not too much, just enough to give it its round shape). Place it into the outer tire and start to put the edges of the tire back onto the rim. Start with your hands and use the tire levers to finish the last section (this might take a while the first time, but with some practice, you’ll quickly become very good at it). When doing this, be careful not to pinch the new tube! Make sure it stays nicely inside the tire.

Step five : pump it up and put the wheel back on. Now you are ready to roll again!

Remember one of the golden rules of mountain biking: leave nothing behind! Be sure to always pack the old tube and any other garbage into your backpack before jumping back onto your bike.


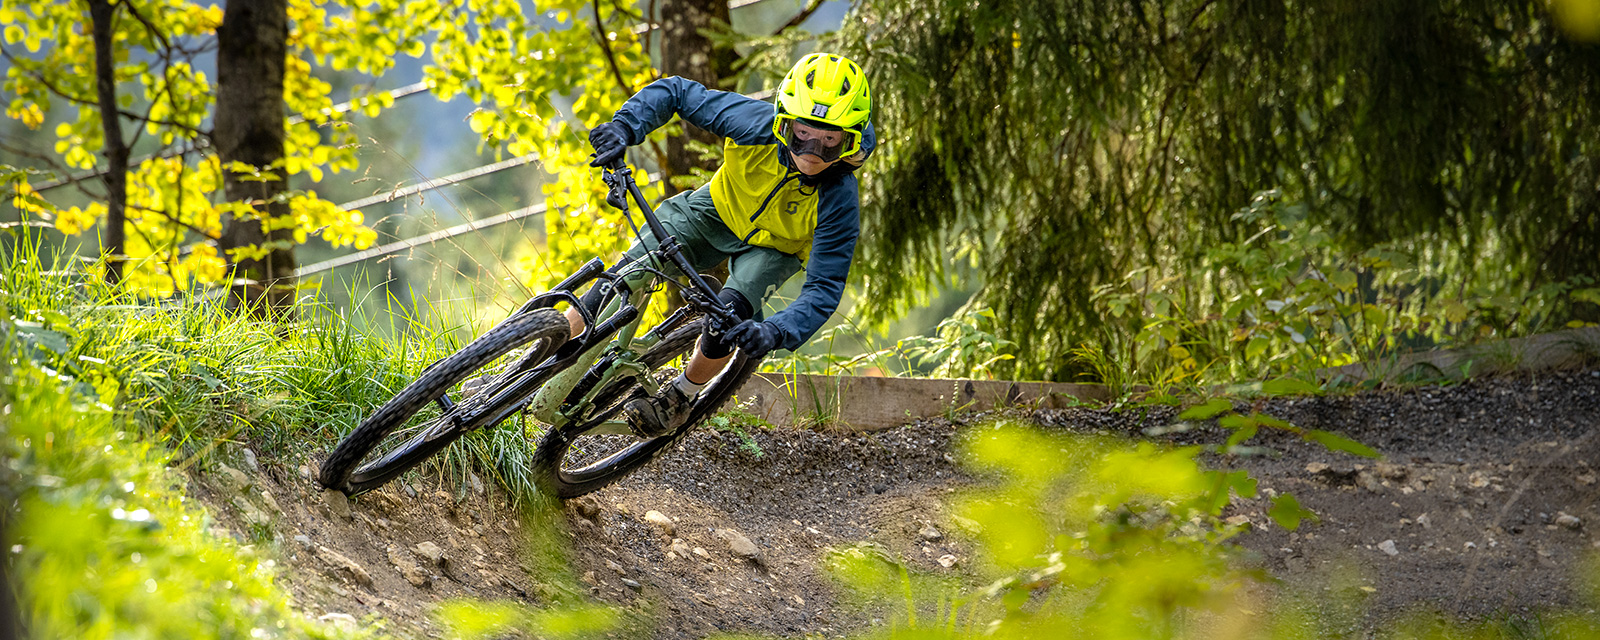
How was your ride? Did you have a muddy day on the trail? It’s time to wash your bike!


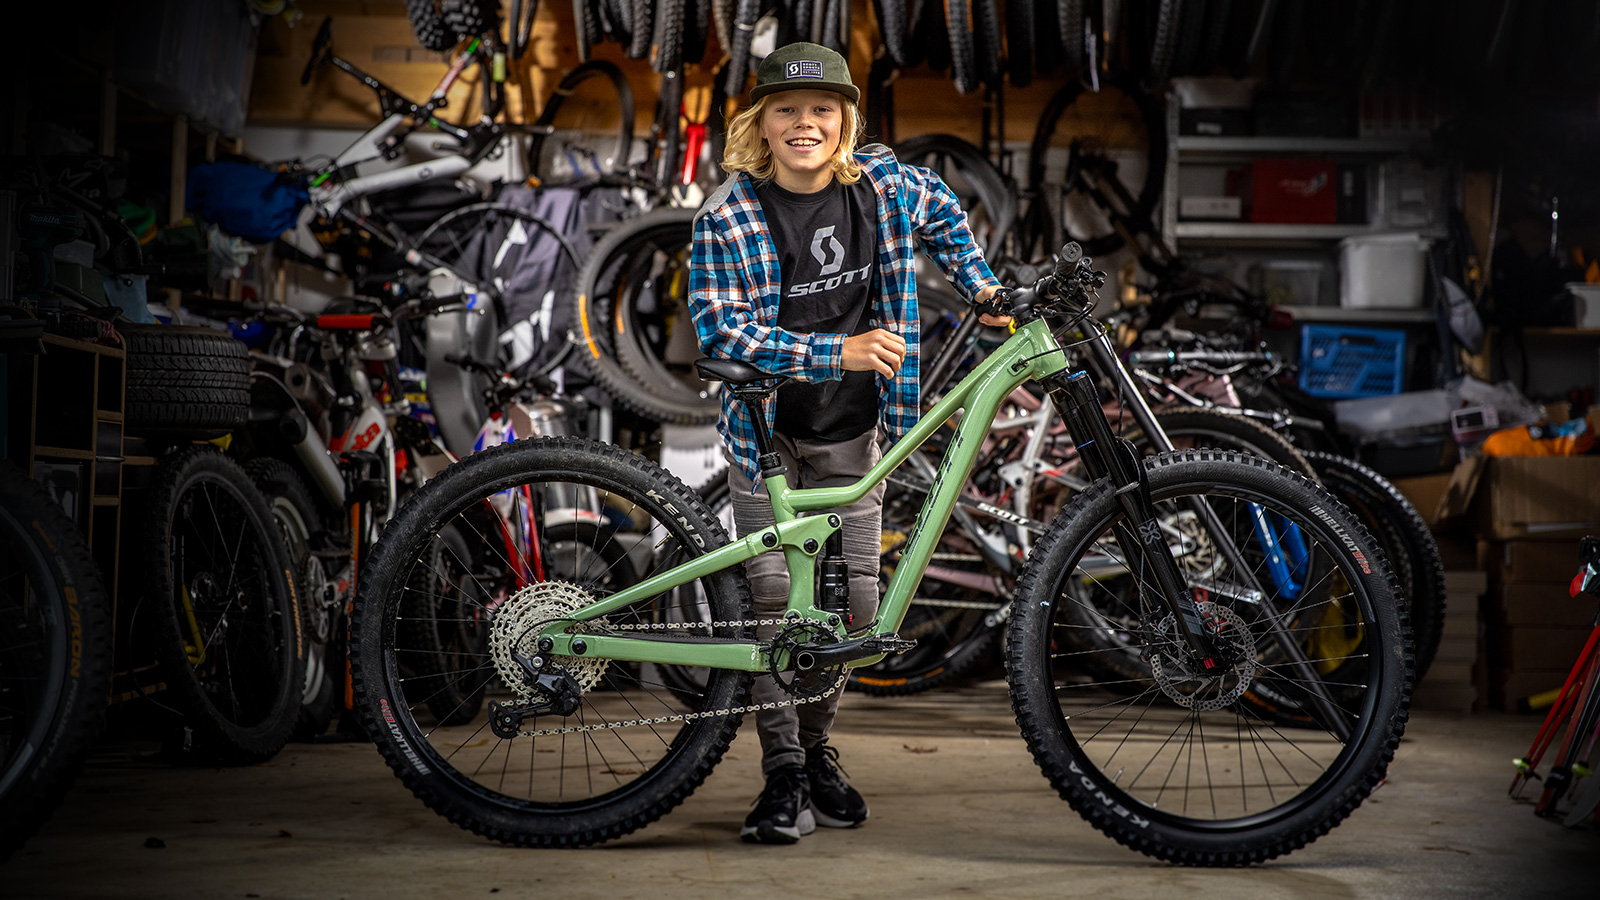
Maintaining your bike is essential and is part of the sport. If you want your bike to stay fast and work smoothly for as long as possible, you have to take care of it.

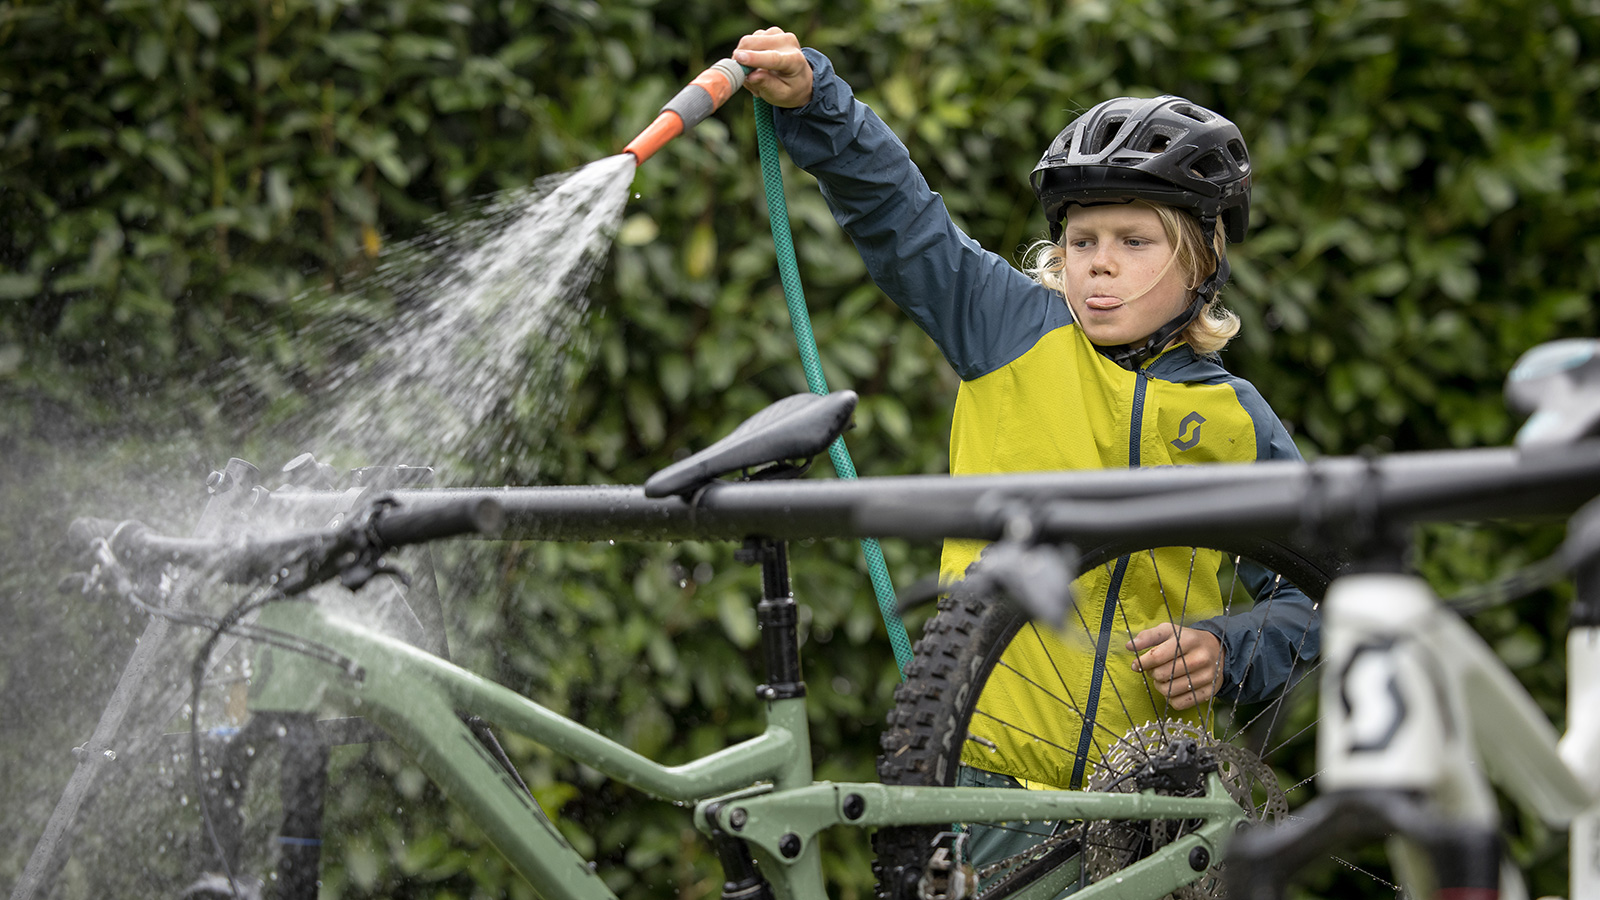
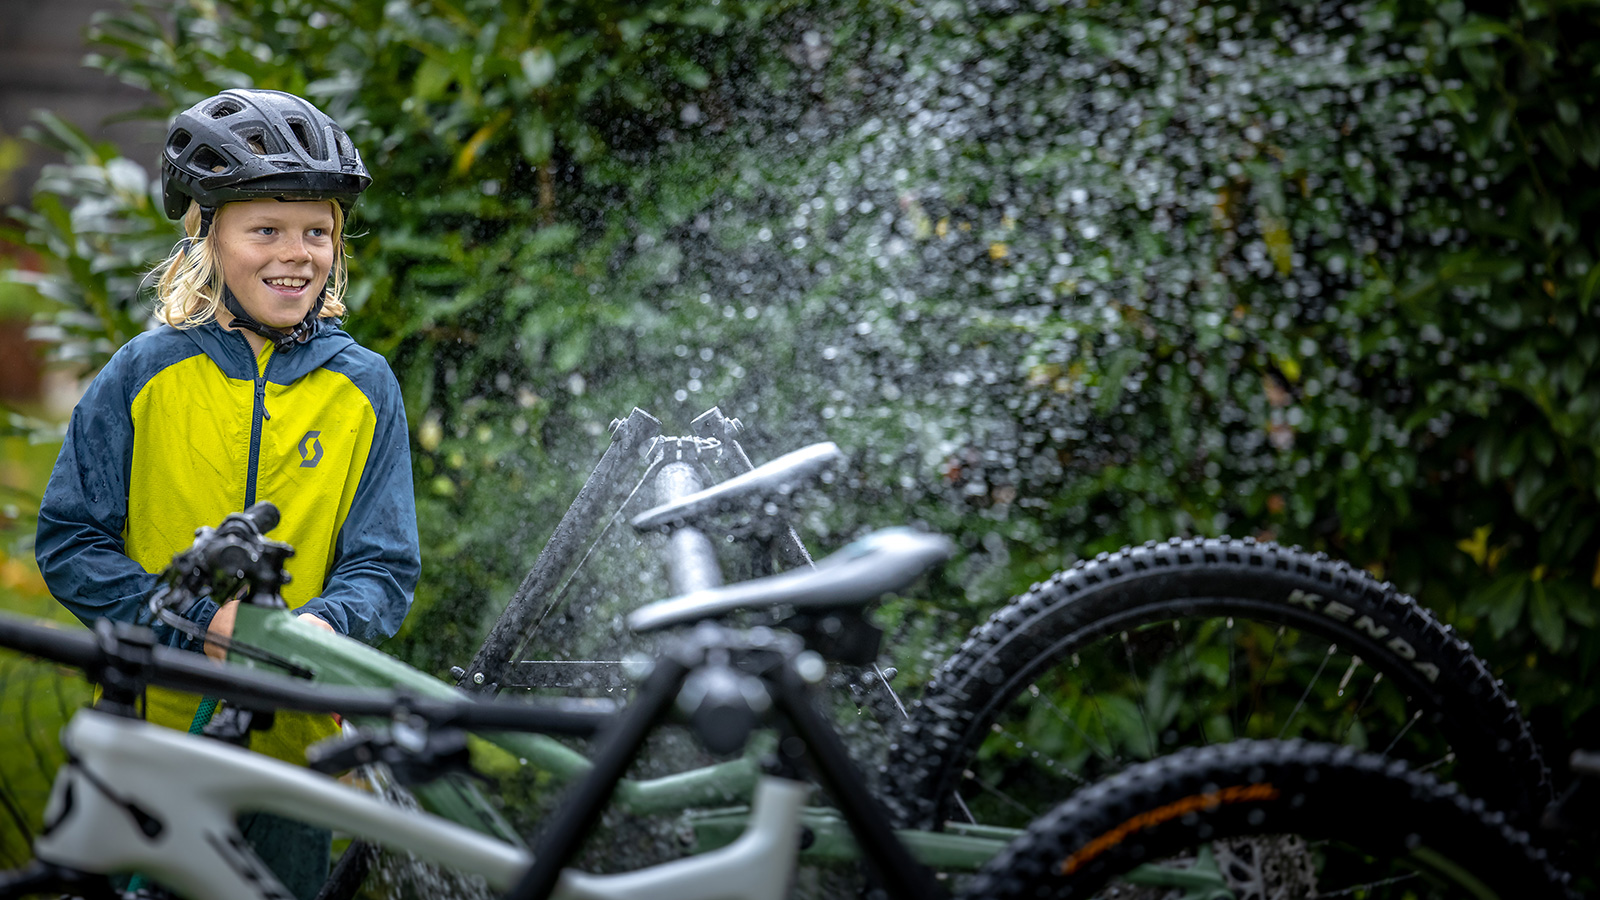
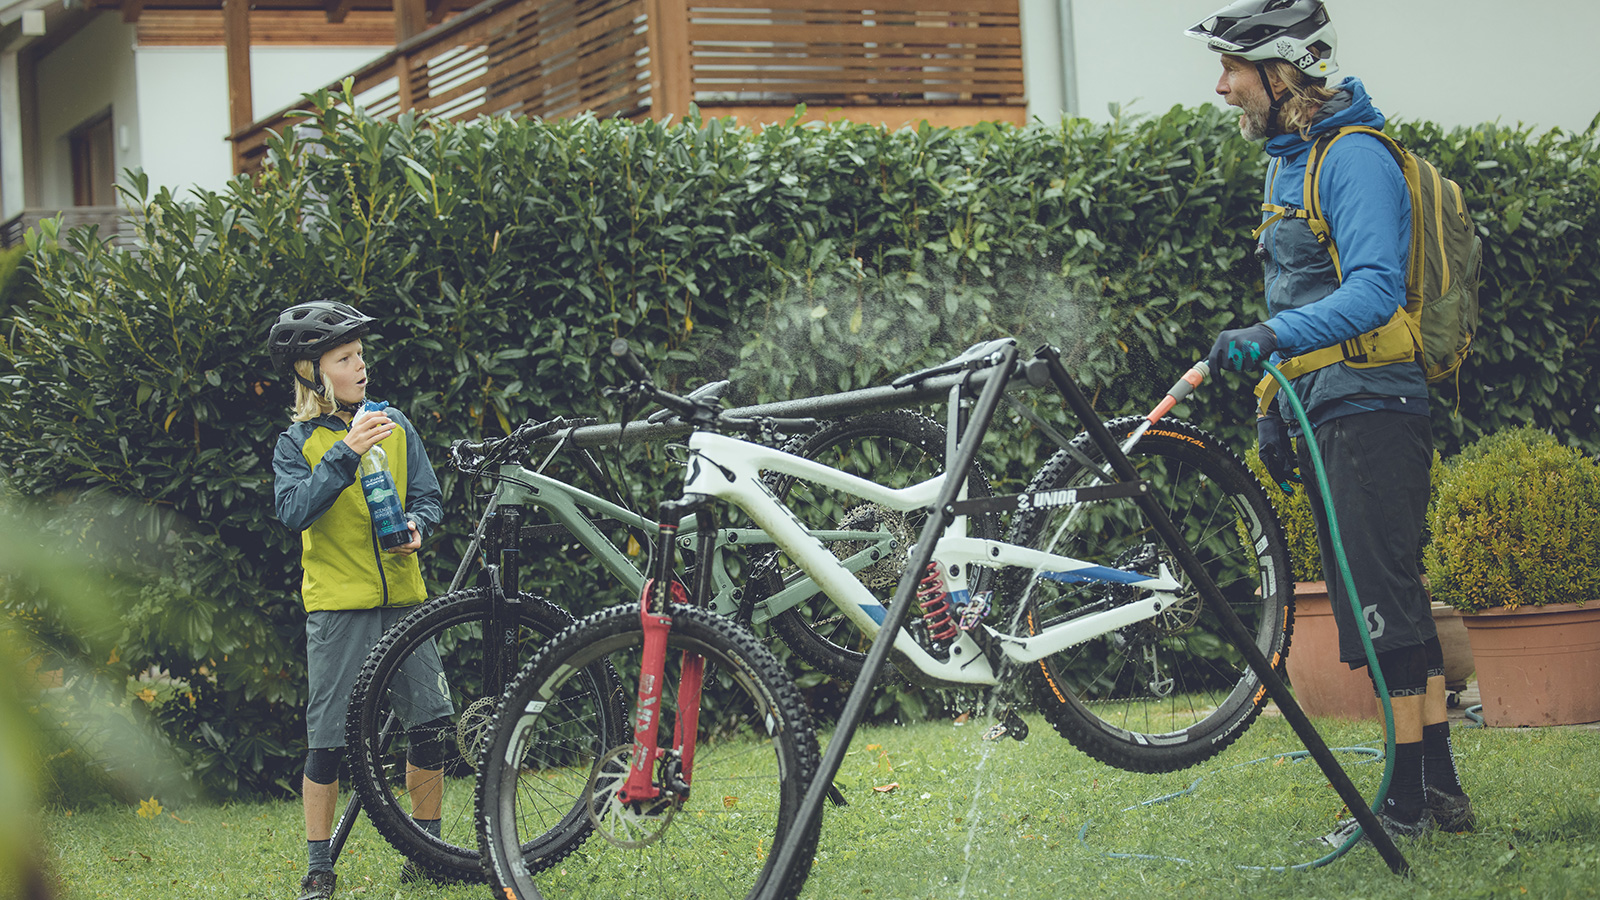
Step one : Start by spraying the dirt off with water. It’s easier if you can hang your bike on a rack, but you can also lean it against a wall or a fence, or lay it on the ground. It might be a good idea to check with your parents what the best spot to wash your bike is, before ruining the lawn or repainting the house with mud!

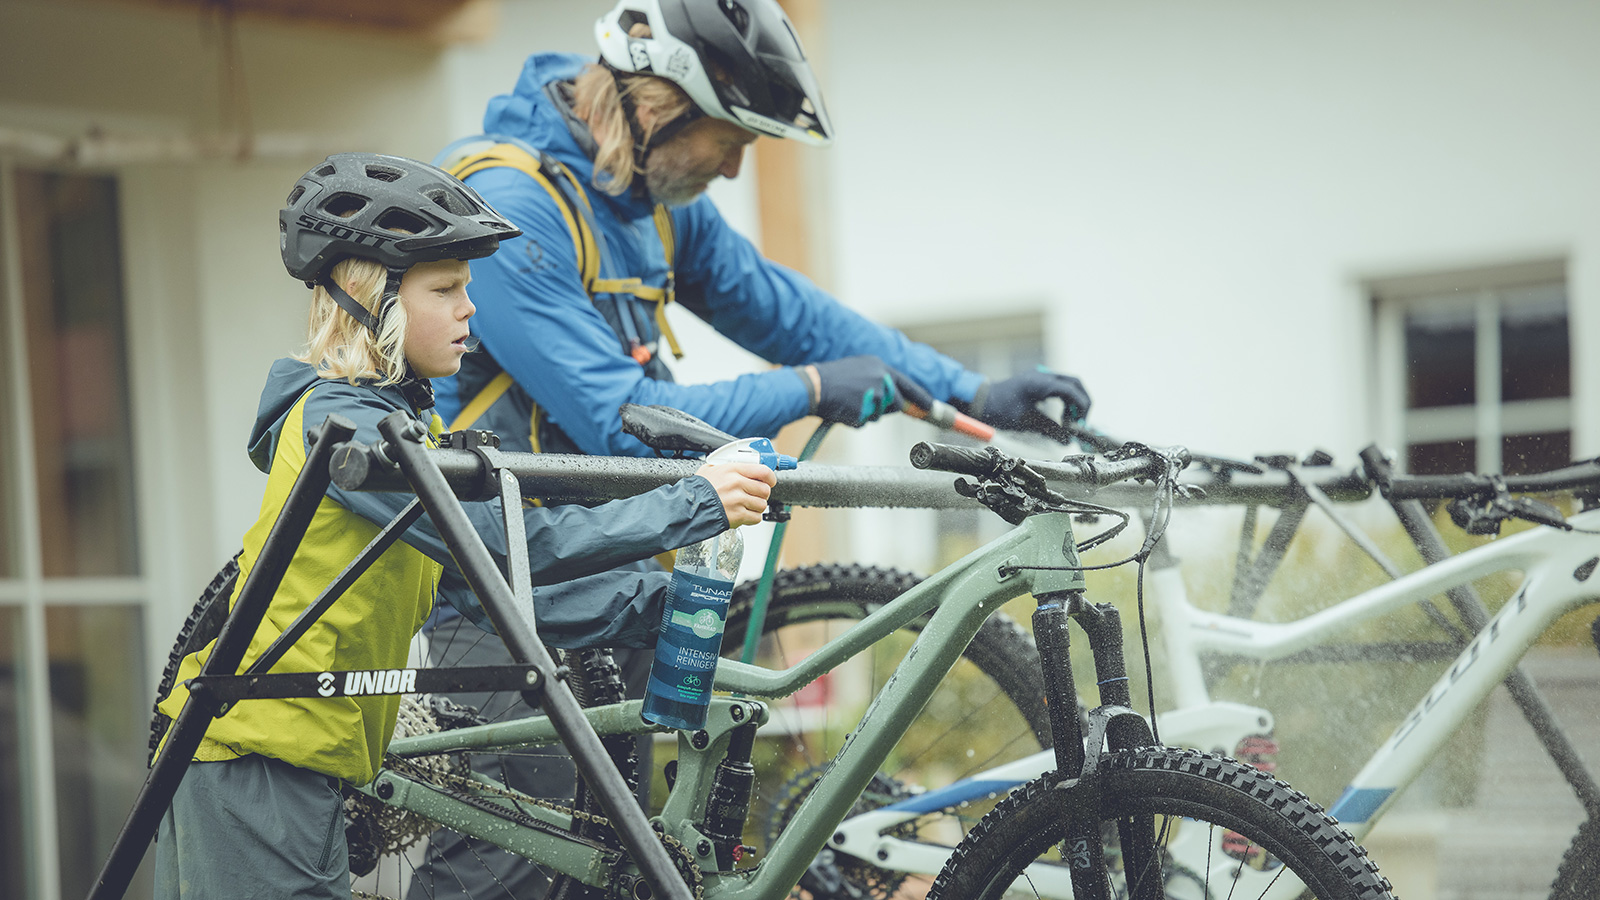
Step two : Use some bike cleaner for the really dirty parts. Alternatively, a little bit of dish soap diluted in warm water will do the trick just fine. Rub all the dirt off with a soft brush or sponge. Don’t forget to look underneath your down tube and saddle, that is where the dirt usually likes to stick!

Step three : Once your bike is clean, rinse it well and dry it with a towel to make it shine. Old t-shirts make great bike cleaning cloths! Use a clean one, not the one full of grease that you’ve already used to clean your chain.

Step Four : Last but not least, oil the chain. Be precise and careful when doing this, since you don’t want to put oil on your discs and brake pads. Also, keep in mind that grease stains are hard to clean, so depending on where you are working on your bike, try not to spill any on the floor or you might get into trouble…

Et voilà, your bike is ready for the next ride! Are you? Watch out for Lois’s next episode full of cool riding tips.


SCOTT Mission Evo Junior Knee Pads

$54.99